Learn how to enable Android developer settings easily. Follow this step-by-step guide to unlock developer options and advanced Android features for your phone

What is developer settings?
Developer settings or developer options is a hidden menu in your android phone which contain advance tools and settings which you can use to modify your phone. Its not not an app and its not something you download, its an built-in feature of the operating system of your device. In other words, its just there by default and you can’t delete or remove it though you sure can keep it hidden.
How to enable developer settings on your phone
Enabling developer settings is quite straightforward and simple, and the process is pretty much the same for every device brand whether it be Samsung, Xiaomi, OnePlus etc.
Step by step procedure of enabling developer settings in Android-
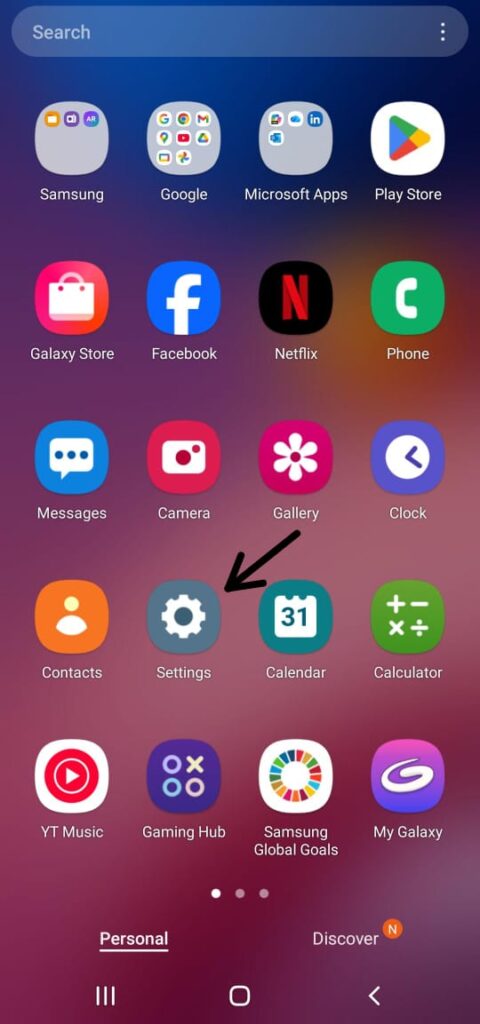
1.Open Settings
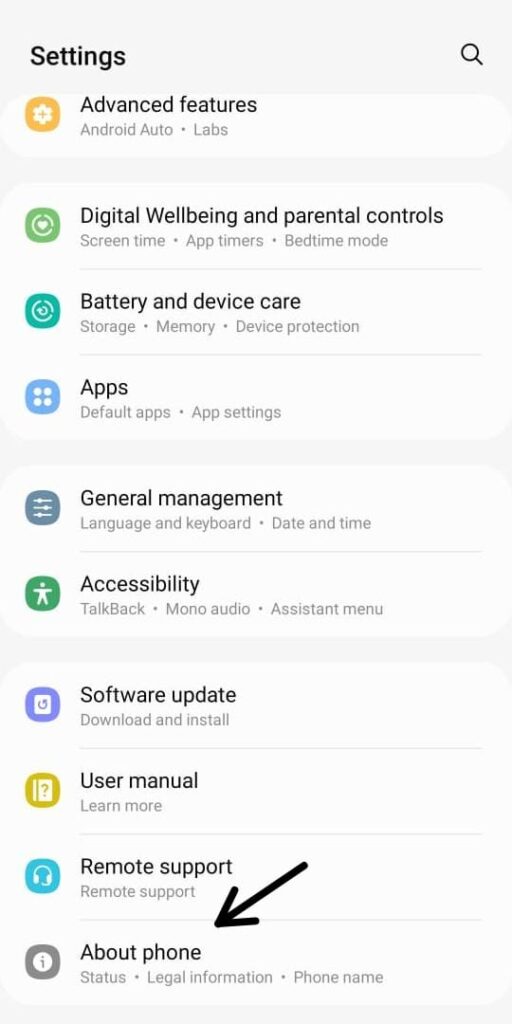
2.Inside settings, find “About phone” (sometimes “About device”)
3.Locate “Build number”
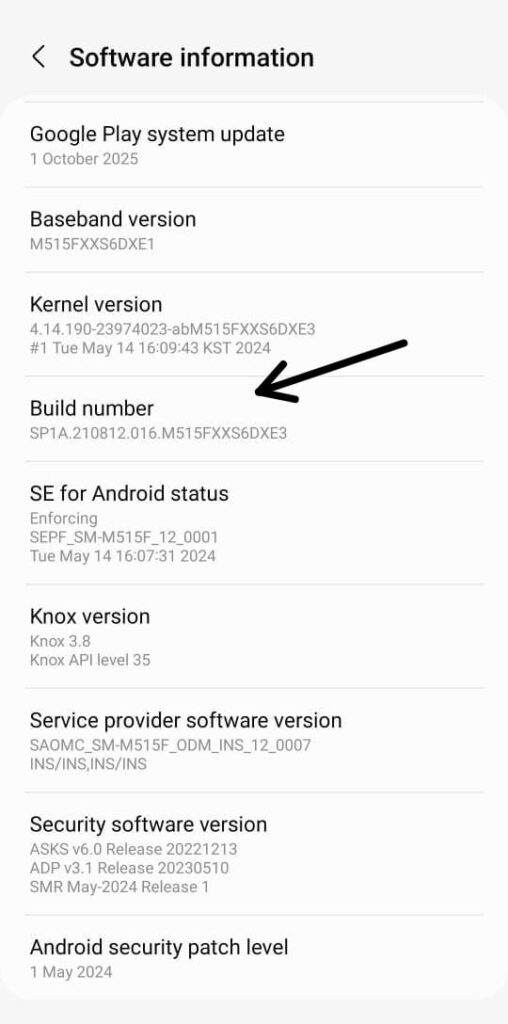
4.Tap “Build number” 7 times
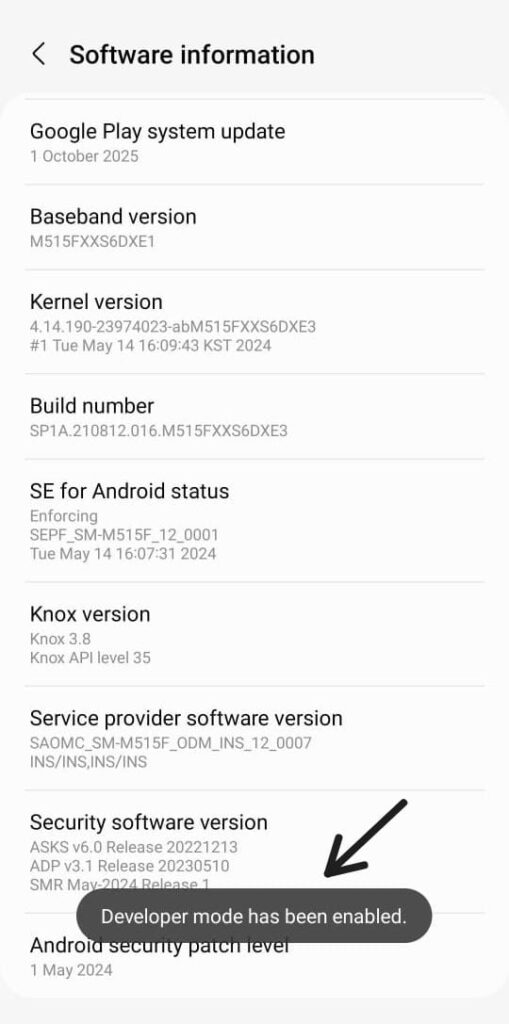
5.Enter your PIN/password if prompted
6.You’ll see a message: “You are now a developer!” or “developer mode has been enabled” depending on your phone brand
7.Go back to Settings → System → Developer options
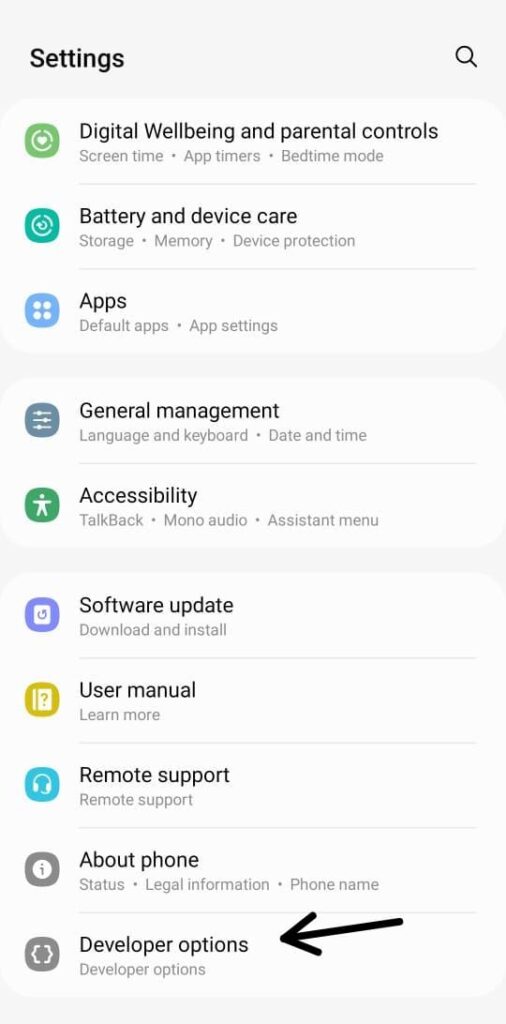
The core process is the same on every Android device — go to Settings, find About phone, and tap Build number seven times. However, there may be slight differences in the exact steps depending on your phone brand. For example, the About phone section might be located in a different place, and once enabled, the Developer options menu might appear directly under Settings → Developer options, or under Settings → System → Developer options on some devices.
Common uses of Developer Options
Now that you know how to enable android developer settings, lets look at some of its common features to understand exactly why people use it so much
1.USB Debugging
This is the by far the most popular reason people turn on Developer Options. By enabling USB debugging in developer options, your android phone can communicate with a pc through USB cable allowing transfer of files, data between your phone and Pc which is very useful even for common users. Furthermore, enabling USB debugging also allows running commands or recovering a device via ADB which is crucial for developers
2.Monitor System Performance
Developer Settings lets you view technical details like:
- CPU usage
- Background process limits
- GPU rendering information
These tools are helpful for diagnosing performance issues or testing app behavior.
3.Speeds up your phone
When you open apps, switch between screens, or return to the home screen, Android shows small animations to make transitions look smooth. In developer options, there are three settings which controls them- Window Animation Scale, Transition Animation Scale, Animator duration scale. By default they are all set to 1x, so if you switch them to 0.5x you’ll notice that every interaction—opening apps, switching between them, feels snappier and more immediate.
4.Mock Location
Mock Location lets your phone pretend it’s somewhere else. Instead of using your real GPS position, Android allows a selected app to set a fake location. Developers commonly use this feature to test how apps behave in different cities or countries without actually traveling. It’s a simple and practical way to check maps, weather, and other location-based features during app testing.
5.OEM unlocking
OEM Unlocking is a Developer Options setting that allows the phone’s bootloader to be unlocked. This is mainly used by developers and advanced users who want to install custom ROMs, root the device, or modify the system software. When enabled, it gives permission to unlock the bootloader later using a computer. However unlocking OEM might also void your device’s warranty